1.- Maven Installation
Official download: https://maven.apache.org/download.cgi
Maven is distributed as a ZIP archive. The following steps describe how to install it correctly:
-
Download the Binary zip archive version from the official website (apache-maven-3.9.11-bin.zip).
-
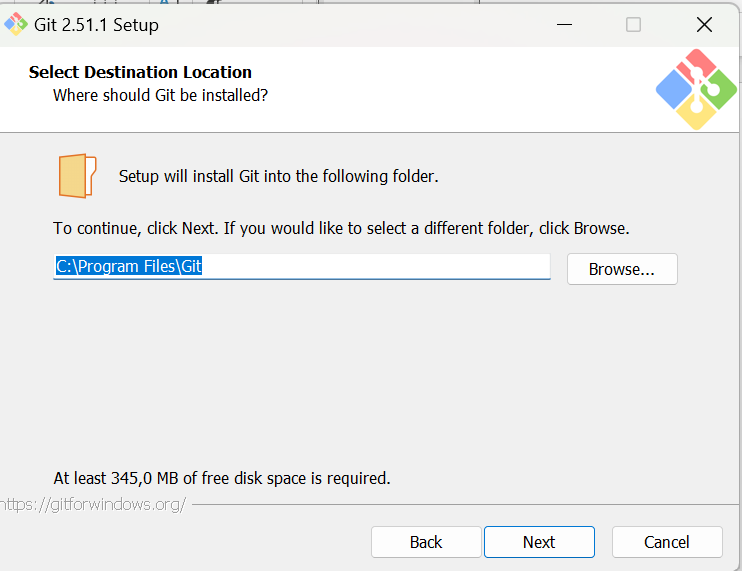
Extract the archive into a local folder, for example: C:\apache-maven-3.9.11
-
Add the Maven bin directory path to the system PATH:
• On Windows: open System Settings → Environment Variables → PATH → Add C:\apache-maven-3.9.11\bin
-
Verify the installation by running the following command in a console: mvn -v
You should see the Maven version and the Java location being used.
2. GitInstallation
Official download: https://git-scm.com/install
During the installation, you can keep the default options on most screens, but review the following key points to ensure a correct configuration:
Default editor selection
In the first installation screens, select your preferred text editor. Vim is offered by default, but you can choose Visual Studio Code, Notepad++, or any other editor you prefer. If you do not have any preference, the default options work correctly.
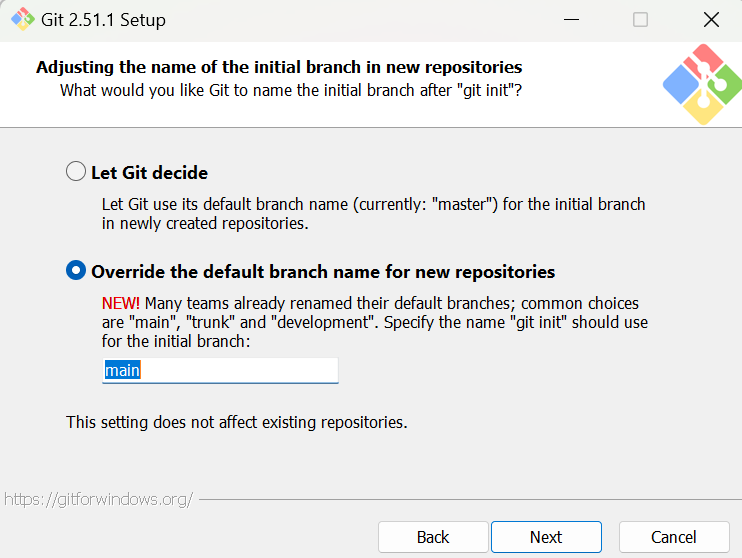
Main branch name (Default branch)
When prompted for the default branch name, select the second option. This allows compatibility with the branch model used by the organization (for example, 'develop' or 'main').
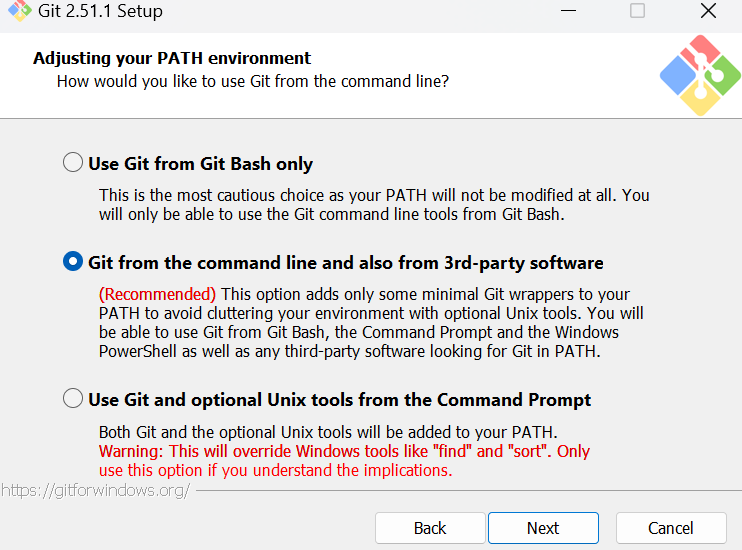
Git visual tools
If you use graphical tools such as Sourcetree or GitHub Desktop (Git - GUI Clients), you can integrate them later. During the installation, simply continue with the default options, indicating that you will use Git through the command line or third-party programs.
OpenSSH Configuration
Git requires OpenSSH for secure connections with repositories. You can:
-
Use the OpenSSH included with the Git installation (recommended).
-
Or use an existing OpenSSH installation already configured on your system.
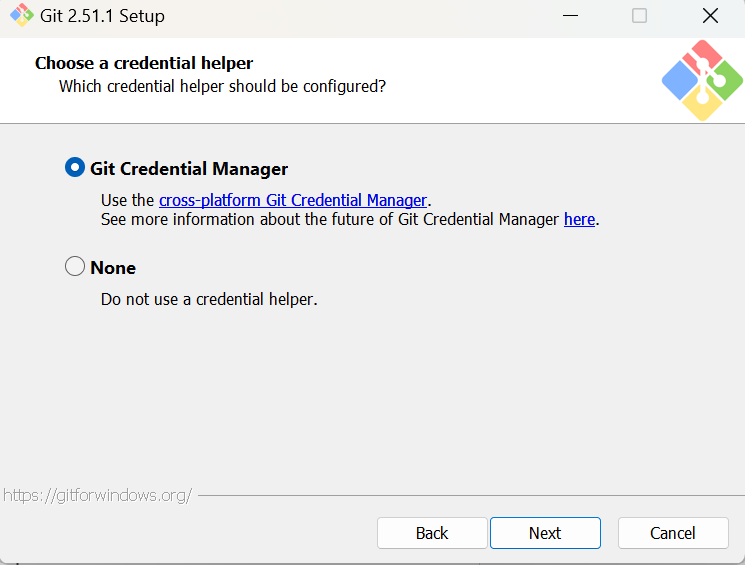
Certificate and Credential Management
Keep the default options for certificate management. It is recommended to install Git Credential Manager, which allows you to securely store your credentials.
Installation Completion
You can continue with the default options until the installation is complete.
3.- Complete GitLab Access Configuration: Tokens, SSH and Git
This document explains how to configure the most common authentication methods for accessing GitLab repositories: using Personal Access Tokens or SSH keys, and how to correctly integrate them into the Git configuration.
Personal Access Tokens
Personal Access Tokens are a secure alternative to passwords for authenticating with GitLab, especially when two-factor authentication (2FA) is enabled or when automated tools are used.
🔗 Official documentation: https://docs.gitlab.com/user/profile/personal_access_tokens/
Steps to create a token
-
Access your GitLab account and go to
Preferences→Access Tokens. -
Assign a name to the token and define an expiration date.
-
Select the required scopes, such as
read_repository,write_repository, orapi. -
Click on
Create personal access token. -
Copy the token and store it in a safe place. It will not be visible again afterward.
SSH Key Access
SSH keys allow you to establish a secure connection with GitLab without entering a username and password for every Git operation. This is the recommended method for developers.
🔗 Official documentation: https://docs.gitlab.com/user/ssh/
Generate a new SSH key
Open a terminal and run:
<![CDATA[ssh-keygen -t ed25519 -C "your_email@domain.com"]]>
Accept the default path (~/.ssh/id_ed25519) and define a secure passphrase.
There is also the option to use PuTTYgen to create the keys.
Copy the content of the public key:
<![CDATA[cat ~/.ssh/id_ed25519.pub]]>
Go to GitLab → Preferences → SSH Keys and paste the public key.
Verify the connection with:
<![CDATA[ssh -T git@gitlab.com]]>
If you work on multiple devices, generate a different SSH key for each one and label them clearly in GitLab.
Git Configuration
Once the tokens or SSH keys have been created, Git must be configured to use the corresponding authentication method when connecting to GitLab repositories.
Using a Personal Access Token (HTTPS)
Clone the repository using HTTPS:
<![CDATA[git clone https://gitlab.com/your-group/your-repository.git]]>
When prompted for username and password:
-
Username → your GitLab username
-
Password → the personal token you generated
To save the credentials and avoid entering them every time:
-
Use Git Credential Manager
-
Or configure the remote accordingly
Using an SSH Key
Make sure the SSH agent is active.
Add your private key:
<![CDATA[ssh-add ~/.ssh/id_ed25519]]>
Clone the repository using the SSH URL:
<![CDATA[git clone git@gitlab.com:your-group/your-repository.git]]>
Final Recommendations
-
Make sure you have Java (JDK 8 or higher) installed before using Maven.
-
Avoid paths with spaces when installing Maven or Git, as they may cause errors in automation scripts.
-
If you work on CI/CD projects, store your Git credentials securely using Git Credential Manager.